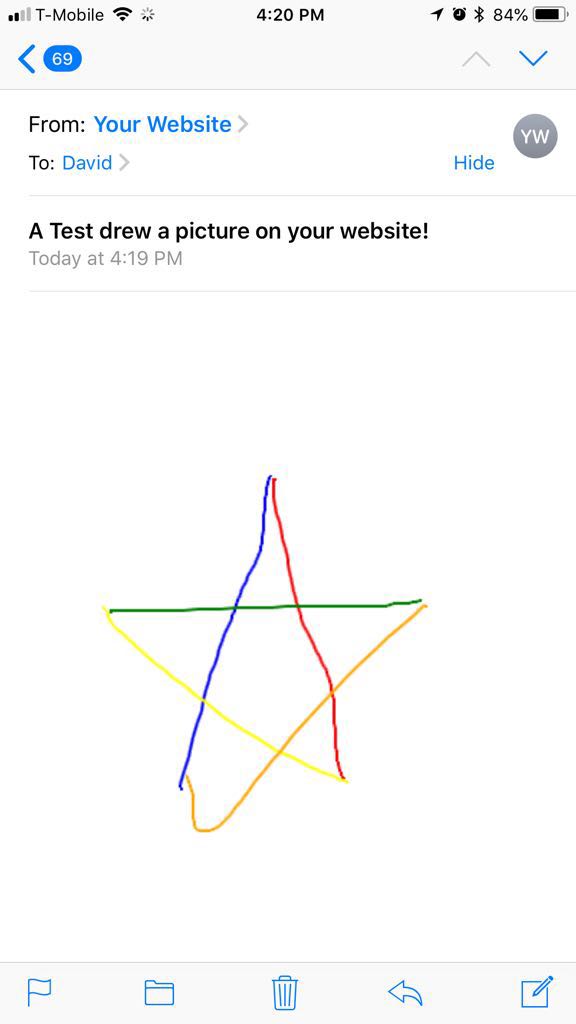
As I start getting more comfortable with web technology, both on the front end and the back end, I get curious about trying new things. Who doesn’t love drawing On The Internet (© 2018)?
I wanted to put a canvas on my homepage that you could draw on, and I wanted to be able to see your images. I mean…this shouldn’t be too complicated, right? Draw an image and send it somewhere, right?
…did I see an opportunity to severely overcomplicate it and write a blog post about it? Did I find a way to shoehorn Swift into it when Node.js would have probably been fine? You bet I did!!

Ok, we have to draw a canvas first.
The Canvas
HTML has a great way to easily draw just about anything with a built-in tool called Canvas. There are at least 6 tutorials on the internet (possibly more) about Canvas, so I won’t dive deep into how the API works, but focus on how I used mine.
So I went to DuckDuckGo and I sear—I mean, I dutifully read the documentation on MDN about Canvas. It was somewhat straightforward to draw the canvas on the main part of the page (all of the source code for this entire blog is here), but what I needed to make drawing with your mouse possible was to set up eventListeners on the canvas.
canvas.addEventListener("mousemove", function (e) {
    findxy('move', e, canvas)
}, false);
canvas.addEventListener("mousedown", function (e) {
    findxy('down', e, canvas)
}, false);
canvas.addEventListener("mouseup", function (e) {
    findxy('up', e, canvas)
}, false);
canvas.addEventListener("mouseout", function (e) {
    findxy('out', e, canvas)
}, false);
And what if I want to detect touches on a mobile device? Well, those events have different names, so you can add listeners for them as well, and you can tell the document to not scroll around, or to prevent the default action, so it stays still while you draw:
canvas.addEventListener("touchstart", function(e) {
    e.preventDefault();
    findxy('touchdown', e, canvas);
}, false);
canvas.addEventListener("touchmove", function(e) {
    e.preventDefault();
    findxy('touchmove', e, canvas);
}, false);
canvas.addEventListener("touchcancel", function(e) {
    e.preventDefault();
    findxy('up', e, canvas);
}, false);
canvas.addEventListener("touchend", function(e) {
    e.preventDefault();
    findxy('up', e, canvas);
}, false);
(NB: By the way, most of this I was able to find in a great StackOverflow post which you can check out here.)
In short, whenever the mousedown event registers, and is followed by subsequent mousemove events, you can tell the canvas to draw a path from pixel to pixel. Anytime a mouseup or mouseout event registers, you don’t draw any pixels until mousedown comes up again.
Ok, sweet! So we have our picture. I can’t wait to see what my friends draw, and I’m certain that none of my friends will abuse this. (future blog post about image detection and conditional rejection?!?)
Now, how do I get it to my email inbox?
OpenWhisk
Apache OpenWhisk is a really awesome platform that allows you to write functions in just about any programming language you want, and to have them made available in a cloud of your choosing. We have them available as Cloud Functions at IBM, and I decided I was going to use a XMLHTTPRequest to send it to an action on OpenWhisk. After that, I use SendGrid to send an email to myself.
Swift is natively supported in IBM’s build of OpenWhisk, so I thought I’d give that a shot! Here’s what the function looks like in the absence of the sendImage function I wrote for it:
struct Input: Codable {
    let name: String
    let image: String
}
struct Output: Codable {
    let message: String
}

func main(param: Input, completion: @escaping (Output?, Error?) -> Void) -> Void {
    sendImage(name: param.name, image: param.image, callback: { success in
        if success {
            completion(Output(message: "Sent message to David from: \(param.name)"), nil)
        } else {
            completion(Output(message: "Had an error sending message to David from: \(param.name)"), nil)
        }
    })
}
The only requirement for an OpenWhisk function is the main function, and IBM’s deployment with Swift 4 makes use of the Codable Routing feature in Kitura, which strongly types the expected input and output of your web API that you set up.
SendGrid has some good SDKs, but most importantly they have an API that shows you how to use cURL! Here’s what my function to invoke their create API looks like:
func sendImage(name: String, image: String, callback: @escaping (Bool) -> Void) {
    let headers = [
        "Authorization": "Bearer xxxxxx----apikey-goes-here-xxxxxxx",
        "Content-Type": "application/json"
    ]
    let parameters = [
        "personalizations": [["to": [["email": "david@okun.io", "name": "David Okun"]]]],
        "from": ["email": "website@okun.io","name": "Your Website"],
        "subject": "\(name) drew a picture on your website!",
        "content": [["type": "text/html", "value": "<img alt=\"My Image\" src=\"\(image)\"/>"]]
        ] as [String : Any]
    let postData = try! JSONSerialization.data(withJSONObject: parameters, options: [])
    guard let url = URL(string: "https://api.sendgrid.com/v3/mail/send") else {
        return callback(false)
    }
    var request = URLRequest(url: url)
    request.httpMethod = "POST"
    request.allHTTPHeaderFields = headers
    request.httpBody = postData as Data
    let session = URLSession.shared
    let dataTask = session.dataTask(with: request, completionHandler: { (data, response, error) -> Void in
        callback(error == nil)
    })
    dataTask.resume()
}
Ok, neat. So all I have to do is send a JSON payload with a name and an image (formatted as a base64 string) and I’m good to go, right?
 Nope.
Nope.
It turns out that, in order to send a request using a XMLHTTPRequest inside a browser, you need to have CORS (Cross Origin Resource Sharing) turned on. Thankfully, OpenWhisk has a way to do that, and by foregoing authorization, I was able to turn it on as a “Web Action” in the web GUI. I would like to thank my colleague Kevin Hoyt for this great blog post on the topic.
After that, all I had to do was disable the button while the request is in the air and…
 Nice.
Nice.
And there you go! Again, all of the code for this post is on the GitHub repo for this site right here. I hope you have even more fun on my website than you were already having :-]